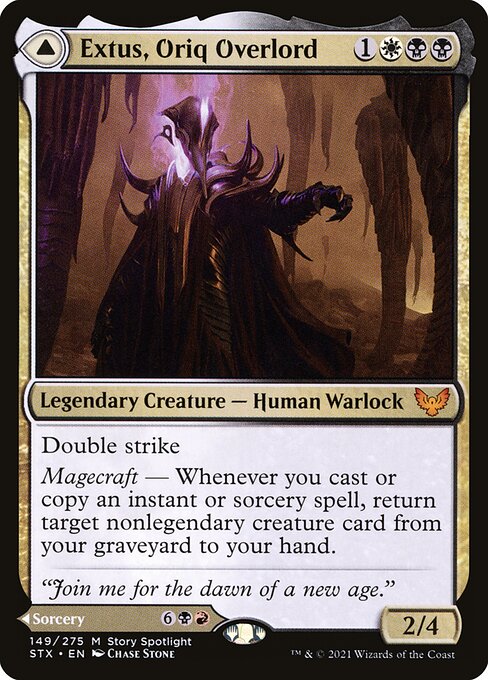
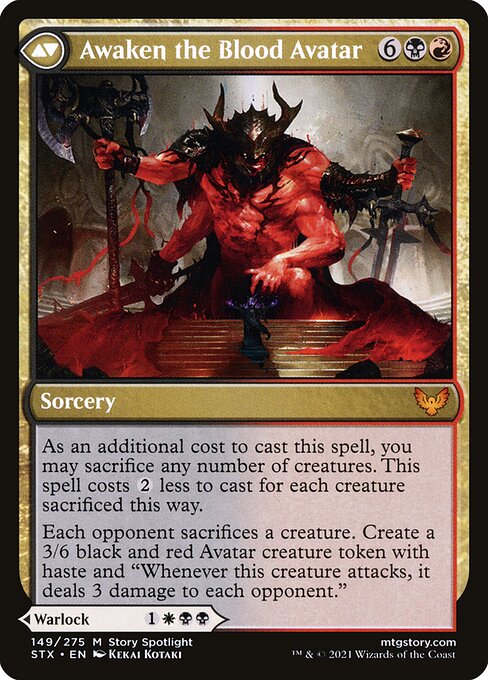
Today, I’m excited to share my favorite EDH decklist, helmed by Extus, Oriq Overlord. At least, that’s its front face. In truth, this deck is built to use and abuse its commander’s back face: Awaken the Blood Avatar.
I love this deck because it takes advantage of strong cards while leaving enough counterplay to ensure my opponents are having fun. The deck takes a modular approach to early game setup and late game payoffs, which keeps its game plan varied and makes it fun to play over and over.
In this guide, I’ll discuss both high-level strategy and individual card choices. Please leave your constructive comments below, and add my blog to your RSS feed app of choice if you enjoy this post!
Strategy
This deck wins by doing one of three things:
- Cast Awaken the Blood Avatar as many times as possible.
- Copy the Avatar token as many times as possible.
- Copy the Avatar tokens’ attack trigger as many times as possible.
Unlike most EDH decks, this deck includes very few mana rocks. Instead, it plays efficient token generators that function as fast mana when I’m trying to cast Awaken the Blood Avatar. I only need to generate two sacrifice-able creatures within the first three turns to cast Awaken the Blood Avatar for the first time on turn four.
The rest of the cards in the deck fulfill one of four roles: setup, payoff, interaction, and card draw. Awaken the Blood Avatar functions as strong creature removal in certain cases, so most of the interaction in the deck meets other needs by focusing on protection, flexibility, or quantity.
Decklist
For a simple decklist without commentary, view the deck on Moxfield.
Cards 1 – 19: Early game sacrifice fodder
The goal of this block of cards is to generate at least two creatures that I can sacrifice in order to cast Awaken the Blood Avatar for the first time on turn four.
(1 – 9) Dragon Fodder, Forbidden Friendship, Gather the Townsfolk, Goblin Instigator, Krenko’s Command, Mogg War Marshal, Raise the Alarm, Resolute Reinforcements, and Servo Exhibition
Each of these cards fits the brief–two creatures for two mana–with occasional minor upside.
(10) Clowning Around
This card is an exceptional black-bordered addition from Unfinity. Like the above group, its baseline is two creatures for two mana, but it can generate a third creature about 33% of the time.
(11) Bitterblossom
While it doesn’t generate tokens immediately, Bitterblossom will generate two tokens by the time I want to cast Awaken the Blood Avatar on turn four. As a bonus, it continues to create tokens after turn four, which can fuel additional Avatar tokens.
Conundrum
Unfortunately, there are only eleven cards in my color identity that generate two creatures for two mana, so I chose one- and three-drops to fill the remaining eight slots in this category. The rules are as follows: One-drops still need to able to generate at least four mana for the purposes of casting Awaken the Blood Avatar. Three drops, in order to justify the increased cost, need to generate at least three creatures.
(12) Garrison Cat
Garrison Cat generates two creatures, but not at the same time. If WotC prints a better token generator in the future, this will be my first cut. The upside is that, as a one-drop, this card can combine with any of the above two-drops to enable a turn-three Avatar, while producing additional sac fodder for later turns.
(13) Haazda Marshal
Haazda Marshal is a strong but unreliable way to generate many tokens. If I’m able to play a two-drop, Haazda Marshal can continue generating tokens long after I’ve cast Awaken the Blood Avatar for the first time. This is another likely eventual cut.
(14) Legion’s Landing
Legion’s Landing generates one token and an additional mana if I can flip it by attacking with three creatures on turn three. That’s not quite the four mana I need, but there is a perfect line available: Turn one Legion’s Landing; turn two Dragon Fodder (or similar); turn three attack, flip, and activate Adanto, the First Fort to generate a second token. Then on turn four, I can sacrifice both tokens to fuel the first cast of Awaken the Blood Avatar.
If I play Ragavan on turn one, then attack on turns two and three, I can sacrifice him and his two Treasure tokens on turn four to fuel the first cast of Awaken the Blood Avatar.
(16 – 17) Hordeling Outburst and Weaponcraft Enthusiast
These cards represent the three-drop baseline–three mana for three creatures.
(18) Seasoned Pyromancer
Seasoned Pyromancer is a Hordeline Outburst with two significant upsides: card selection and reusability.
Like Ragavan, this card needs to generate at least two Treasure tokens to fuel the first cast of Awaken the Blood Avatar.
Cards 20 – 29: Setup cards worth less than 3 mana
In the average game, I want to play a two-drop to generate tokens and a three-drop setup card that will generate value when I cast Awaken the Blood Avatar. Since I will sometimes need to spend turn three generating tokens for the first time, there are fewer of these setup cards than token generators.
(20) Determined Iteration
Determined Iteration is one of my favorite cards in this deck. Its biggest benefit is its mana cost: I can play it turn two and use turn three to play a three-drop token generator, if need be.
(21 – 23) Young Pyromancer, Monastery Mentor, and Sedgemoor Witch
Since my “commander” and so many of my token generators are noncreature spells, these three cards generate a LOT of extra tokens, which can fuel additional casts of Awaken the Blood Avatar.
(24) Promise of Bunrei
While its use is limited, Promise of Bunrei still generates four tokens (i.e. eight mana) for an investment of just three mana. If I play it on turn three, it will activate when I cast Awaken the Blood Avatar on turn four, making this card a painless and strong setup tool for future Avatar casts.
(25) Imperial Recruiter
I try to restrict my inclusion of tutors such that they won’t tempt me to always pull out the same game-winning combo when I play them. Imperial Recruiter lets me grab a number of strong but reasonable toolbox cards.
(26) Isshin, Two Heavens as One
While Isshin is a popular commander in his own right, I like him here as a focused setup card that copies my Avatars’ attack triggers.
(27) Kaya, Geist Hunter
Kaya doubles my Avatar generation and comes with other minor upsides.
(28) Adeline, Resplendent Cathar
Adeline is absurd. Compared to a Hordeling Outburst, Adeline can generate three tokens per turn. If I want to cast Awaken the Blood Avatar before combat on turn four, however, Adeline doesn’t fit the bill unless I already have at least one other creature on board before I cast Adeline on turn three. That’s why she’s in this category and not the previous one.
(29) Sol Ring
Sol Ring earns a spot in my deck because it can fuel a turn-three Awaken the Blood Avatar, and is general strong otherwise. It can’t fuel a turn-three or turn-four Avatar by itself, however, which is why it’s in this category and not the previous one.
Cards 30 – 41: Payoffs and win conditions
(30 – 33) Anointed Procession, Fury Storm, Double Vision, Rionya, Fire Dancer
While each of these cards functions a little differently, they all meet the same goal: Make lots more Avatar tokens.
(34 – 35) Zulaport Cutthroat and Bastion of Remembrance
Since I want to sacrifice creatures anyway, might as well drain my opponents while I do it.
(36 – 37) Call the Coppercoats and Inkshield
Each of these can create a massive number of tokens all at once, fueling lots of Avatars.
(38) Dramatic Finale
While it’s a token lord that generates more tokens, Dramatic Finale is a bit slow and low-powered. This is a potential cut.
(39) Dictate of Erebos
Dictate of Erebos is a potential cut for the opposite reason–it’s backbreaking.
(40) Offspring’s Revenge
Offspring’s Revenge isn’t super strong, but it’s one of my pet cards. Generating extra sac fodder is helpful, and reusing something great like Dockside Extortionist can fuel a win on its own.
(41) Fiery Emancipation
If I have a single Avatar token on the battlefield when I play Fiery Emancipation, it’s worth an immediate 18 damage in a four-player game off the attack trigger alone. That’s a pretty fair baseline for this deck.
Cards 42 – 44: Board Protection
Selfless Spirit, Guardian of Faith, Boros Charm
Nothing particularly noteworthy here, these are just among the most efficient options for protecting a board full of tokens.
Cards 45 – 51: Card Advantage
Esper Sentinel, Skullclamp, Plumb the Forbidden, Morbid Opportunist, Painful Truths, Rumor Gatherer, Welcoming Vampire
Of these, Plumb the Forbidden is most noteworthy, since it can function as a win condition when combined with Zulaport Cutthroat or Bastion of Remembrance. Plus it’s one of my favorite cards, period.
To tell the (painful) truth, I should probably have one or two more card advantage options in this deck.
Cards 52 – 59: Removal
Path to Exile, Swords to Plowshares, Fracture, Anguished Unmaking, Crackling Doom, Vindicate, Wear // Tear, Curtain’s Call
Nothing particularly noteworthy here.
Cards 60 – 63: Mass Interaction
(60) Blot Out the Sky
Blot Out the Sky can generate lots of tokens while wiping out lots of my opponents’ stuff. I have to admit I haven’t been super impressed with its performance, to be honest. It costs eight mana to use the board wipe mode, which is difficult for a deck that doesn’t use traditional ramp.
(61) Dismantling Wave
While Dismantling Wave’s best mode also costs eight mana, its floor is three mana to destroy three things, which is still great and very usable in my deck.
(62) Toxic Deluge
My Avatar tokens have 6 toughness, which makes Toxic Deluge potentially asymmetrical.
(63) Hour of Reckoning
Hour of Reckoning is easy to cast and asymmetrical. 10/10, no notes.
Lands
Right now, the deck plays one Mountain, one Plains, and a whole bunch of nonbasic lands to meet its color requirements. In general, I’ve prioritized dual lands that will enter untapped most of the time: fetches, shocks, checklands, etc.
In retrospect, the ratio of fetchlands to fetchable lands in my deck is pretty bleak. I expect I’ll need to make some replacements in order to keep the deck from fumbling in the late game.
This deck has heavy color requirements, and therefore plays few utility lands. Here are the utility lands it does play:
Agadeem’s Awakening, Shatterskull Smashing, Emeria’s Call
These MDFCs make the cut because they can enter the battlefield untapped when I need the lands.
In Conclusion
My Awaken the Blood Avatar deck features a strong but varied game plan that can melt my opponents’ life totals. It’s perfect for a Johnny like me! If you liked this deck commentary, let me know below and follow for more!

Leave a comment